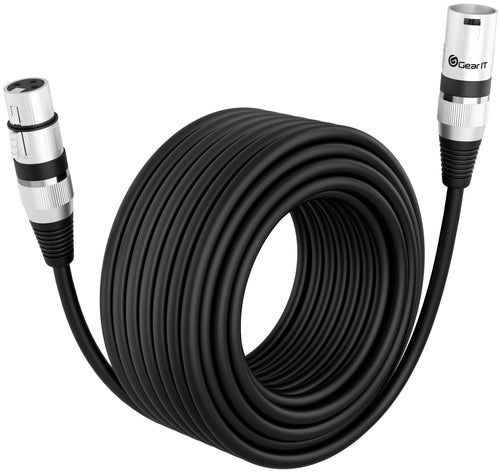
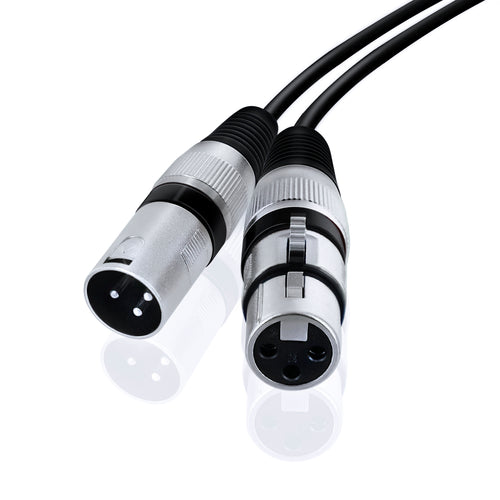
Whether you're an aspiring podcaster, a seasoned musician, or someone diving into the world of audio recording, the quality of sound is paramount. Often, individuals invest in the best microphones and recording equipment, only to overlook a critical component: microphone cables.
These seemingly mundane parts of your setup can have a considerable impact on the quality of your sound recordings. By understanding how microphone cables can introduce noise and knowing how to prevent it, you can ensure optimal audio performance.

How Microphone Cables Can Introduce Noise
Microphone cables act as conduits, carrying weak electrical signals from the microphone to your recording equipment. Due to their nature, these cables are susceptible to various sources of interference that can introduce unwanted noise or hum into your recordings. Some common culprits include:
-
• External Electromagnetic Interference (EMI): Devices such as cell phones, routers, and even fluorescent lights can emit electromagnetic waves that may interfere with your microphone cables, causing static or humming noises.
-
• Radio Frequency Interference (RFI): Broadcasting stations, walkie-talkies, and wireless devices can produce radio frequencies that, when too close to your setup, might introduce unwanted noises.
-
• Mechanical Noise: Movement or handling of the cable can lead to noise in the signal, especially if the cable isn't properly shielded.
Reducing Noise for Optimal Audio Performance
1. Use Balanced Cables: Balanced cables, unlike their unbalanced counterparts, use a system where two wires carry the same signal but in opposite phases. Any noise that is picked up along the length of the cable will be canceled out at the end. Most professional microphones use XLR connectors, which are inherently balanced, ensuring minimal noise interference.
2. Invest in Shielded Cables: Shielding is a method used in microphone cables to protect the internal wires from external interference. This can be a braided shield, foil shield, or even a combination of both. The shield acts as a barrier, preventing EMI and RFI from contaminating the signal.
3. Keep Cables Away from Sources of Interference: Try to route your microphone cables away from potential sources of interference. This includes power cables, wireless routers, and other electronics. If you must cross a power cable, do so at a 90-degree angle to reduce the chances of interference.
4. Maintain Your Cables: Regularly inspect your cables for any signs of wear, tear, or damage. Damaged cables can not only introduce noise but can also be a safety hazard.
5. Ground Properly: Ensure that your equipment is grounded correctly. A faulty ground connection can lead to a humming noise, known as a ground loop.
6. Use Ferrite Beads: These are small devices that you can clamp onto your cable to suppress high-frequency interference. They act as a filter, ensuring that only the desired signals pass through.
7. Keep Cable Lengths to a Minimum: The longer the cable, the more chances there are for interference to be picked up. Use the shortest cable possible for your setup to ensure the cleanest signal.
Microphone cables play a crucial role in determining the quality of your sound recordings. By understanding how noise can be introduced and taking steps to prevent it, you can ensure that your recordings are always of the highest quality.
Remember, while the microphone and recording equipment are essential, the cables connecting them are just as significant. Visit our store to find out more information on optimal audio performance.


