In the realm of electrical work, mastering the art of splicing wires is akin to unlocking a hidden treasure chest of skills. Whether you're tackling a home DIY project or a professional installation, knowing how to splice wires correctly is paramount for safety, efficiency, and ensuring a seamless connection. In this guide, we'll delve into the intricacies of splicing electrical and speaker wires, with a special focus on the Lineman's splice, also known as the Western Union Splice, and its fascinating history.
Understanding the Basics
Before we dive into the specifics, let's ensure we're on the same page regarding the fundamentals of splicing. Splicing involves joining two or more wires together to establish electrical continuity. It's a common practice in various applications, ranging from household wiring to complex electronic setups.
Splicing Electrical Wires
Tools and Materials Needed:
- ● Wire cutters/strippers
- ● Electrical tape
- ● Wire connectors (optional)
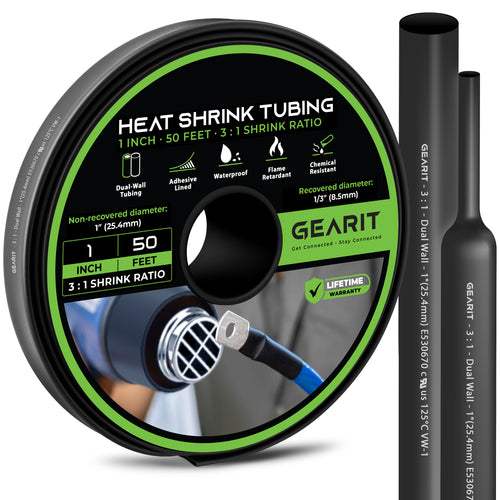
- ● Heat shrink tubing (optional)
Steps to Splice Electrical Wires:
1. Prepare the Wires
Begin by stripping the insulation from the ends of the wires to expose the conductive metal. Ensure that the stripped portion is of appropriate length for a secure connection.
2. Twist the Wires Together
Align the exposed metal strands of the wires and twist them together tightly. This step promotes good conductivity and mechanical strength in the splice.
3. Insulate the Connection
Wrap the exposed portion of the splice with electrical tape to insulate it and protect against short circuits or electrical hazards. For added durability, consider using heat shrink tubing instead of or in addition to electrical tape.
Splicing Speaker Wires
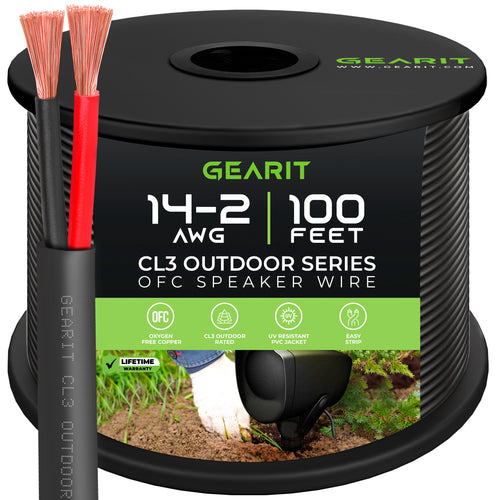
Splicing speaker wires follows a similar process to electrical wires but often requires extra care due to the sensitivity of audio signals. Here's how to do it:
Tools and Materials Needed:
- ● Wire cutters/strippers
- ● Wire connectors (optional)
- ● Heat shrink tubing (optional)
Steps to Splice Speaker Wires:
1. Strip the Wires
Carefully strip the insulation from the ends of the speaker wires, exposing enough metal for a secure connection.
2. Connect the Wires
Depending on your setup, you can either twist the wires together and secure them with wire connectors or use connectors like banana plugs or spade connectors for a more professional and easily detachable connection.
3. Heat Shrink Tubing
If desired, slide heat shrink tubing over the splice and apply heat to shrink it into place. This provides extra protection and a clean finish to the connection.
The Lineman's Splice: A Brief History
The Lineman's splice, also known as the Western Union Splice, has a rich history dating back to the early days of telegraphy and electrical communication. It

was developed by telegraph linemen who needed a reliable and secure method to splice wires in the field, often under harsh conditions.
The technique involves meticulously intertwining the wires' strands in a specific pattern to create a robust and low-profile splice. Its design minimizes resistance and ensures a strong mechanical connection, crucial for maintaining uninterrupted communication over long distances.
Over time, the Lineman's splice has transcended its origins and found application in various electrical and wiring tasks, admired for its simplicity, reliability, and effectiveness. Even in the age of advanced technology, this timeless technique remains a staple in the toolkit of electricians and enthusiasts alike.
John MacLaren Sharp, Public domain, via Wikimedia Commons
Conclusion
Mastering the art of splicing electrical and speaker wires is an essential skill for anyone venturing into the realm of electrical work or audio installations. By understanding the principles behind splicing and learning the proper techniques, you can ensure safe, reliable, and professional-grade connections in your projects.
Remember, whether you're splicing electrical wires or speaker wires, attention to detail and adherence to best practices are paramount. So, equip yourself with the right tools, follow the steps outlined in this guide, and embark on your splicing journey with confidence. Happy splicing!


