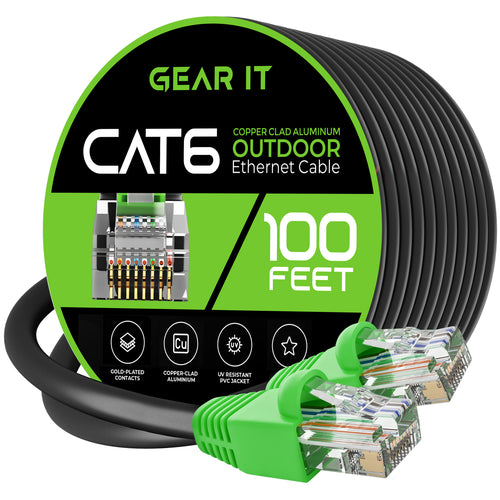
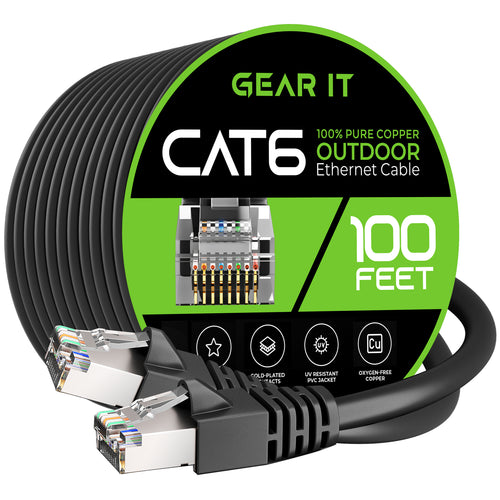
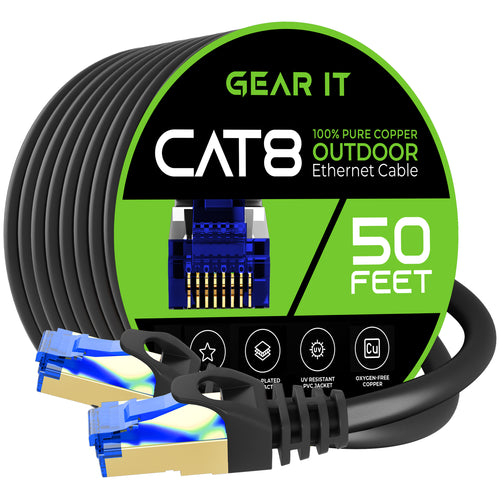
As smart home devices continue to evolve, the need for reliable connectivity extends beyond the confines of our homes. Outdoor smart home devices like security cameras, sensors, and lighting systems require stable Ethernet connections to function optimally. This blog article provides a comprehensive guide on installing outdoor Ethernet cables, ensuring your smart home devices remain connected and secure.
Why Choose Ethernet for Outdoor Devices?
While Wi-Fi is a convenient option, Ethernet connections provide several advantages, especially for outdoor smart home devices:
Stable and Reliable Connection: Ethernet offers a consistent and interference-free connection.
● Higher Speeds: Ethernet connections can handle higher data transfer rates, essential for devices like security cameras.
● Enhanced Security: Wired connections are less susceptible to hacking compared to wireless networks.
● Power Over Ethernet (PoE): Allows devices to receive both power and data through a single cable, reducing the need for additional power sources.
Planning Your Installation
Before starting the installation, plan the layout and placement of your outdoor devices. Consider the following:
● Device Placement: Identify the optimal locations for your cameras, sensors, and lights.
● Cable Path: Plan the most efficient and safe route for the Ethernet cable from your router to the outdoor devices.
● Environmental Factors: Take into account potential obstacles like trees, walls, and weather conditions.
Choosing the Right Ethernet Cable
Selecting the appropriate Ethernet cable is crucial for outdoor installations. Here are key factors to consider
● Shielding: Opt for shielded cables to protect against electromagnetic interference.
● Length: Measure the distance between the router and the devices to ensure the cable is long enough.
Preparing for Installation
Gather all necessary tools and materials:
● Outdoor-rated Ethernet cables
● Ethernet connectors (RJ45)
● Cable clips and ties
● Conduit or PVC pipe (for added protection)
● Drill and bits
● Crimping tool
● Weatherproof junction boxes
Running the Cable
Follow these steps to run the Ethernet cable:
1. Mark the Path: Use spray paint or flags to mark the planned route.
2. Drill Holes: If needed, drill holes through walls or other obstacles.
3. Lay the Conduit: Run the conduit or PVC pipe along the marked path.
4. Thread the Cable: Feed the
Ethernet cable through the conduit, ensuring it is secure and protected.
Protecting and Securing the Cable
To ensure longevity and performance:
● Bury the Cable: If running underground, bury the conduit at least 6-12 inches deep to avoid accidental damage.
●
Use Cable Clips: Secure the
cable to walls or structures with cable clips.
● Weatherproof Connections: Use weatherproof junction boxes and sealant to protect connections from moisture.
Connecting Your Devices
Once the cable is in place, connect your devices:
1. Terminate the Cable: Attach RJ45 connectors using a crimping tool.
2. Connect to Devices: Plug the
Ethernet cable into the devices and the router or switch.
3. Use PoE Adapters: If using PoE, connect the appropriate adapters or injectors to power the devices.
Testing and Troubleshooting
After installation, test the connections:
● Check Connectivity: Ensure each device is receiving a strong and stable signal.
● Test Device Functionality: Verify that all devices are working as intended.
● Troubleshoot Issues: Address any connectivity or performance issues promptly.
Maintenance Tips
Regular maintenance can prevent future issues:
● Inspect Cables: Periodically check for signs of wear or damage.
● Clean Connections: Keep junction boxes and connectors free from debris and moisture.
● Update Firmware: Ensure all devices have the latest firmware updates for optimal performance.
Conclusion
Installing outdoor Ethernet cables for your smart home devices enhances their reliability, security, and performance. By following these best practices, you can create a robust network that supports your outdoor cameras, sensors, and lighting systems effectively.
Check out our curated recommendations of products from this article below. When you order through our website, you’re supporting a small business and getting some great perks like personalized customer service, special discounts, and fast shipping. Plus, our team is always here to help with any questions or concerns you might have.
Happy installing!


