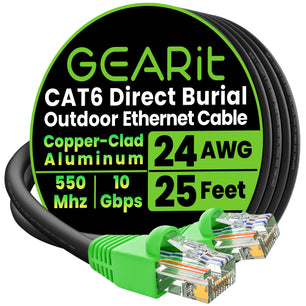
Way before the advent of wireless connections, cables served as the backbone of internet connectivity. Even though wireless technologies are gaining popularity, certain situations call for wired connections - predominantly due to their reliability and speed. One such cable for high-speed network applications is the Cat6 Ethernet cable. Powerfully efficient, these cables are produced by leading consumer electronic brand GearIT. This blog explores the steps to install and terminate Cat6 Ethernet cables properly.
The Basics of Cat6 Ethernet Cables
Before diving into installation guidelines, it is crucial to understand what Cat6 Ethernet cables are. Cat6 or Category 6 cables are standard twisted pair cables used for Ethernet and other network physical connections. They offer a performance of up to 250MHz and are suitable for 10BASE-T, 100BASE-TX (Fast Ethernet), 1000BASE-T/1000BASE-TX (Gigabit Ethernet), and 10GBASE-T (10-Gigabit Ethernet).
Acquiring the Right Tools
Before you commence with the installation, make sure you equip yourself with the necessary tools. These include a Cat6 cable, an RJ45 connector, a crimping tool, and a cable tester. All of these networking accessories are available at GearIT to ensure high-quality results.
Step-by-Step Guide to Install and Terminate Cat6 Ethernet Cables
The following steps provide a guide on how to splice, terminate, and test:
Step 1: Cut and Strip the Cable
Start by cutting the desired length of the Cat6 cable. Use a wire stripper to remove about 1 inch of the jacket from one end of the cable to reveal the twisted pairs of wires.
Step 2: Untwist the Pairs
Once the pairs are revealed, untwist the wires. There are typically four pairs - green, blue, orange, and brown. Each pair consists of one solid-coloured wire and one striped wire.
Step 3: Arrange the Wires
Arrange the wires in the correct order from left to right according to the wiring standard you're following (T568A or T568B).
Step 4: Trim the Wires
Trim the ends of the wires to ensure they're even and easily slide into the RJ45 connector.
Step 5: Insert the Wires into the Connector
Slide the trimmed, aligned wires into the RJ45 connector. Make sure each wire goes into its respective pin.
Step 6: Crimp the Connector
With a crimping tool, firmly press down on the connector, sealing the wires in place.
Step 7: Test the Cable
Finally, use the tester to make sure each pin is functioning correctly.
Why Buy Networking Products from GearIT?
At GearIT, we strive to provide a one-stop shop for quality cables and wires. Our catalog includes an extensive range of networking cables, including Cat6 Ethernet cables, under our Networking category. We also house a comprehensive suite of Pro Audio & Video, Staging & Lighting, Power, and Speaker Wire products, ensuring we have everything you need for any electronic project. Installing and terminating your own Cat6 Ethernet cables can be an empowering experience, allowing you to customize your network. Powered with GearIT's high-quality cables and accessories, you can feel confident that your connections will be reliable and effective.


