In today's connected world, having a reliable internet connection extends beyond the walls of your home. Whether you're setting up an outdoor office, enhancing your backyard with smart devices, or extending Wi-Fi coverage to a detached garage, burying Ethernet cables is often the best solution. This step-by-step guide will walk you through the process, ensuring you avoid common pitfalls and achieve a safe, efficient installation.
Step 1: Gather Necessary Tools and Materials
Before you start, make sure you have all the necessary tools and materials:
● Conduit: PVC or metal conduit to protect the cable from physical damage and environmental factors.
● Shovel or trenching tool: For digging the trench where the cable will be buried.
● Measuring tape: To measure the length and depth of the trench.
● Fish tape or cable puller: To help guide the cable through the conduit.
● Utility knife or cable cutter: For cutting the cable to the desired length.
● Cable connectors and waterproof connectors: To connect the cable to your devices and ensure the connections are waterproof.
● Gloves and safety glasses: For personal protection while digging and handling the cable.
● Warning tape: Brightly colored tape to lay above the cable in the trench, indicating the presence of buried cable.
Step 2: Plan the Route
Planning the route for your Ethernet cable is crucial to avoid potential hazards and ensure optimal performance:
1. Survey the area: Identify any potential obstacles, such as trees, roots, or existing underground utilities. Use a utility locator service to mark any underground pipes or wires.
2. Measure the distance: Determine the total length of the cable required, including any extra length needed for connections and future adjustments.
3. Choose the path: Select a route that minimizes interference from other utilities and avoids areas with heavy foot or vehicle traffic.
Step 3: Dig the Trench
Digging the trench is a critical step that requires careful attention to depth and width:
1. Mark the path: Use spray paint or flags to mark the route of the trench.
2. Dig to the proper depth: The trench should be at least 12-18 inches deep to protect the
cable from surface disturbances and physical damage. If local codes require a different depth, follow those guidelines.
3. Ensure a smooth bottom: Remove any rocks or debris that could damage the cable.
Step 4: Lay the Conduit
Laying the conduit provides an additional layer of protection for your Ethernet cable:
1. Cut the conduit to length: Measure and cut the conduit sections to fit the trench, using a utility knife or conduit cutter.
2. Assemble the conduit: Connect the sections using appropriate fittings and adhesive, ensuring a watertight seal.
3. Lay the conduit: Place the conduit in the trench, making sure it lies flat and follows the planned route.
Step 5: Pull the Cable
Pulling the Ethernet cable through the conduit can be challenging but is essential for a successful installation:
1. Attach the cable to fish tape: Secure the
Ethernet cable to the fish tape or cable puller using electrical tape or cable ties.
2. Pull the cable: Slowly pull the cable through the conduit, taking care not to damage the cable. Have a helper feed the cable from the other end to prevent kinks or tangles.
3. Check for kinks or damage: Inspect the cable as it comes through the conduit to ensure it is not damaged.
Step 6: Connect and Test
Once the cable is in place, make the necessary connections and test the system:
1. Strip the cable ends: Use a utility knife or cable stripper to carefully remove the outer sheath and expose the inner wires.
2. Attach connectors: Install the appropriate connectors (e.g., RJ45) to each end of the cable, ensuring a secure connection.
3. Waterproof the connections: Use waterproof connectors or sealant to protect the connections from moisture.
4. Test the cable: Use a network cable tester to check for continuity and signal strength, ensuring the cable is functioning properly.
Step 7: Backfill the Trench
Finally, backfill the trench to complete the installation:
1. Lay warning tape: Place warning tape about 6 inches above the conduit to alert future excavators of the buried cable.
2. Backfill with soil: Carefully replace the soil, compacting it in layers to prevent settling.
3. Restore the surface: Replace any sod, gravel, or other surface materials to restore the area to its original condition.
Safety Precautions
Throughout the process, keep these safety precautions in mind:
● Wear protective gear: Always wear gloves and safety glasses to protect yourself from sharp objects and debris.
● Avoid utility lines: Use a utility locator service to mark existing underground utilities and avoid damaging them.
● Handle tools safely: Use shovels, trenching tools, and cable cutters with care to prevent injuries.
● Work with a partner: Having a helper can make tasks like pulling the cable and handling conduit easier and safer.
By following this step-by-step guide, you can safely and effectively bury
Ethernet cables, extending your network's reach without compromising performance or safety. Whether you're enhancing your home network or setting up a professional outdoor workspace, these tips will help you avoid common pitfalls and achieve a reliable, long-lasting installation.


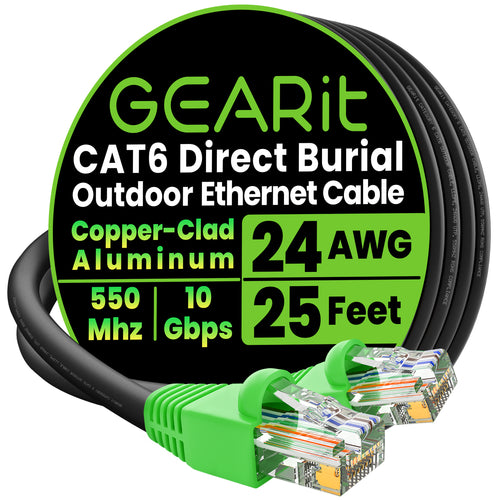
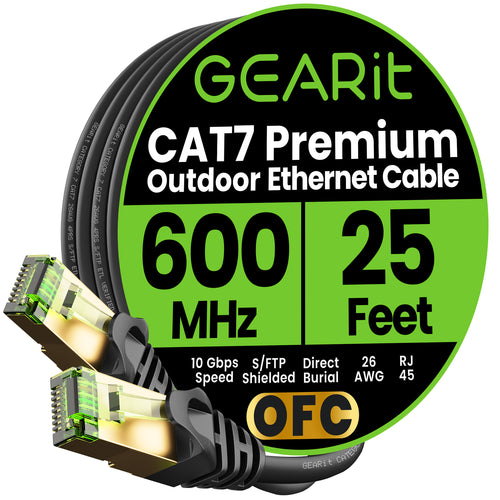
, White")

, Black")


")


")
")


, Black")