, White")

, Black")


 to 30 AMP Female Twist Lock (NEMA L14-30R) RV Dogbone Generator Adapter Cord, 1.5 Feet")


")


")
")


")


, Black")

Ethernet cable wiring diagrams help you correctly connect RJ45 plugs for networks. Use T568A or T568B standards for proper wiring, with Cat6 and Cat7 cables ensuring fast, reliable connections for home or office networks.
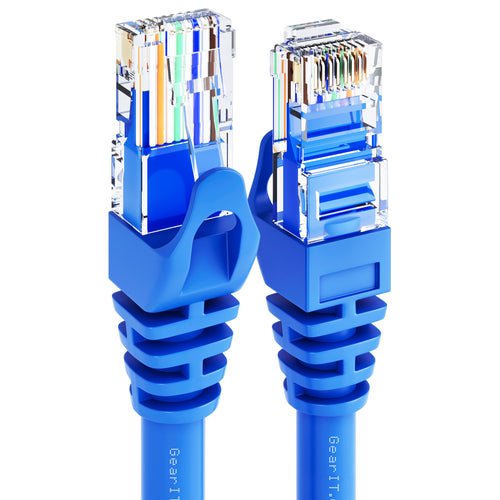
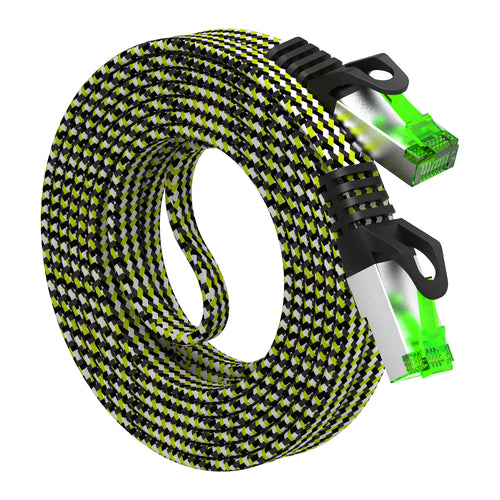
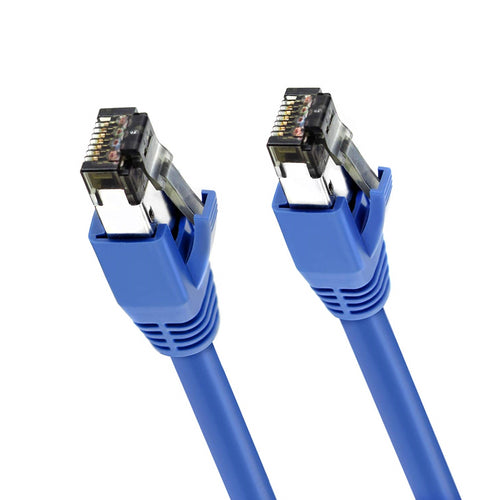
Upgrade your network with GearIT’s premium Cat6, Cat7, and Cat8 cables:
Shop GearIT now for faster speeds and stronger connections—perfect for any setup!

When setting up a network, the wiring of your Ethernet cables is important for a fast and reliable connection. Using an Ethernet cable wiring diagram can help improve data transfer and reduce errors. With the right diagram, you can avoid mistakes that cause slow or faulty connections.
Understanding Ethernet wiring setups helps you build a strong network. By following a wiring diagram, you can make sure each wire is arranged and connected correctly. This improves your connection quality and can make your cables last longer.
In this guide, you will learn about different wiring standards, why correct wiring matters, and how to create your wiring diagram. Whether you are installing new cables or fixing old ones, this information will help you boost your network’s performance.
Understanding Ethernet Cable Wiring: The Basics
Ethernet cable wiring is essential for connecting devices to a network. You will mainly work with twisted pair cables, which consist of several pairs of wires twisted together to reduce interference.
Common Ethernet Cable Types
- Cat5e: Suitable for speeds up to 1 Gbps and distances of 100 meters.
- Cat6: Supports speeds up to 10 Gbps for shorter distances (up to 55 meters).
- Cat7: Offers high-speed performance with better shielding, suitable for 10 Gbps over longer distances.
Twisted Pair Wiring
Each Ethernet cable has four twisted pairs. The proper wiring standard is important for functionality. The two common standards are T568A and T568B.
Here’s a basic color code for T568B:

To wire an Ethernet cable, make sure you match the colors correctly at both ends. This ensures reliable data transmission in your network. Always check if your devices are compatible with the cable type you choose.
Ethernet Wiring Standards: T568A vs. T568B

When working with Ethernet cables, it's essential to understand the two main wiring standards: T568A and T568B. Both standards are used for terminating twisted-pair cables, but their color codes differ slightly.
Color Codes
Here are the color codes for each standard:
|
Pair |
T568A |
T568B |
|
1 |
White/Green |
White/Orange |
|
2 |
Green |
Orange |
|
3 |
White/Orange |
White/Green |
|
4 |
Blue |
Blue |
|
5 |
White/Blue |
White/Blue |
|
6 |
Green/Brown |
Brown |
|
7 |
White/Brown |
White/Brown |
When to Use Each Standard?
✔️ T568A is often recommended for new installations, especially in residential networks. Many organizations follow this standard to ensure compatibility.
✔️ T568B is widely used in commercial installations. It has become more popular in workplaces, primarily due to its historical use in older systems.
When connecting devices, consistency is crucial. Using the same standard on both ends of a cable avoids issues. If you mix the standards, it can result in a malfunctioning network.
Always check which standard is in use in your setup to maintain a reliable network.
Step-by-Step Guide: How to Wire an Ethernet Cable?
Wiring an Ethernet cable involves several important steps that ensure a reliable connection. By following these instructions carefully, you can create your own Ethernet cables for home or office use.
1. Strip the Cable Jacket
Begin by using wire cutters to carefully strip the outer jacket of the Ethernet cable. Remove about 1 to 2 inches of the jacket to expose the inner wires. Make sure not to cut or damage these wires, as this can affect performance.
As you strip the cable, keep an eye out for the insulation on each wire. Avoid nicking this insulation, which can lead to signal issues. After stripping, you should see four twisted pairs of wires. Proper preparation at this stage is key to a successful termination.
2. Untwist the Wire Pairs
Next, you need to untwist the wire pairs. Each pair consists of a solid color and a striped color. Keep the pairs together while you work; this helps maintain their performance.
Untwist the wire pairs about one inch from the jacketed end. Be careful not to untwist them too much, as this can lead to interference. After untwisting, straighten the wires to make insertion into the RJ45 connector easier.
3. Arrange the Wires According to the Chosen Standard (T568A or T568B)
Choose between two wiring standards: T568A or T568B. Both standards are widely used but have different wire arrangements. It’s crucial to use the same standard on both ends of the cable for it to work correctly.
Here is a quick reference for both pinouts:

Arrange your wires in the chosen order from left to right. Make sure they stay in order as you prepare for the connector.
2. Insert the Wires Into the RJ45 Connector
Carefully insert the arranged wires into an RJ45 connector. Slide each wire into the connector, ensuring they reach the end of the plug. Each wire should click into place, passing through internal guides.
When inserting, double-check that each wire is still in the correct order. The left side of the connector should have the clip facing down. Proper alignment ensures that all connections are secure and prevents future problems with your cable.
3. Crimp the Connector to Secure the Wires
Once all wires are in place, it’s time to crimp the connector. Use a crimping tool to firmly press down on the connector. This step secures the wires and establishes the electrical connections needed for data transmission.
Make sure to apply even pressure while crimping. After crimping, you can tug gently on the cable to ensure a good connection. If done correctly, your Ethernet cable is now ready for use.
Common Mistakes to Avoid When Wiring Ethernet Cables
When wiring Ethernet cables, several common mistakes can affect your network's performance. Here are key errors to avoid:
❌ Incorrect Wire Arrangement: Ensure that the wires are arranged correctly according to the T568A or T568B standards. A mistake here can lead to network failure.
❌ Poor Crimping: Using low-quality crimping tools can damage the connectors. Always choose good tools and apply even pressure when crimping RJ45 connectors.
❌ Using Low-Quality Cables: Cheap cables may not meet performance standards. Invest in good quality cables, such as Cat6 or Cat6a, for better speed and reliability.
❌ Ignoring Cable Length Limits: Ethernet cables have maximum length limits. For best results, keep your cable length under 328 feet (100 meters).
❌ Skipping Cable Management: Poor cable management can lead to tangling or damage. Use cable ties and organizers to keep cables neat and secure.
❌ Neglecting Environment Considerations: Install cables in appropriate environments. For example, use plenum-rated cables in air ducts to ensure safety.
How to Test Your Ethernet Cable After Wiring?
Testing your newly wired Ethernet cable is essential to ensure it works correctly. Here are some easy steps to follow.
✅ Gather Your Tools: You will need an Ethernet cable tester. This device checks for continuity and confirms that wires are connected properly.
✅ Connect the Cable: Plug one end of the Ethernet cable into the main unit of the cable tester. Connect the other end to the remote unit. Make sure both units are powered on.
✅ Power On the Tester: Turn on the cable tester. Some models have an automatic feature that starts testing right away.
✅ Observe the Indicators: Watch the lights on the tester. A good connection should show a sequence of lights that align correctly.
Typical indications include:
- All lights blinking in order: Good connection
- No lights: Cable is broken or not connected
- Lights out of order: Wires may be swapped
✅ Troubleshoot if Needed: If the test fails, check for wiring mistakes. Inspect your connections for any loose or incorrectly crimped wires.
Troubleshooting Common Wiring Issues
When working with Ethernet cables, issues can arise during installation. Here are some common problems and how to fix them.
- Incorrect Wiring Order: Check if the wires are in the correct order. Use the T568B wiring standard to guide you.
- Exposed Wires: If you see exposed wires, they can cause signal loss or interference. Strip the cable carefully, ensuring no more than 1 inch of the outer jacket is removed. Use heat shrink tubing or electrical tape to protect any damaged areas.
- Poor Connections: If your cable isn't working, inspect the connectors. Ensure they are securely crimped onto the wires. A crimping tool is essential for this task. If connectors are damaged, replace them.
- Cable Length: Ethernet cables should not exceed 328 feet (100 meters). Longer cables may suffer from signal degradation.
- Physical Damage: Look for cuts or severe bends in the cable. If you find any damage, it's best to replace the section or the entire cable for better performance.
Cat5e, Cat6, and Cat7 Ethernet Cable Wiring Diagrams

When wiring Ethernet cables, it’s important to know the differences among Cat5e, Cat6, and Cat7 cables.
Cat5e Wiring Diagram
- Speed: Supports up to 1 Gbps.
- Use Cases: Ideal for home networking and basic office setups.
- Wiring Standard: Follows T568A or T568B color codes.
Cat6 Wiring Diagram
- Speed: Supports up to 10 Gbps for short distances.
- Shielding: Often includes additional shielding to reduce interference.
- Use Cases: Suitable for larger networks and high-speed applications.
Cat7 Ethernet Wiring
- Speed: Supports up to 10 Gbps or more over longer distances.
- Shielding: Features individual shielding for each pair of wires, enhancing performance.
- Use Cases: Best for data centers and professional networks.
Conclusion
To wrap up, knowing the wiring diagrams for Cat5e, Cat6, and Cat7 Ethernet cables is important for a strong network. Each type of cable has its wiring standards that affect how fast and reliable your connection is. By using the correct wiring diagrams, you can make sure your cables work well for your home or office.
If you're thinking about upgrading your network, check your current setup to see if you need a new Ethernet cable. Visit GearIT to explore different Ethernet cables, including Cat5e, Cat6, and Cat7. With the right cables, you can improve your internet speed and enjoy a better online experience. Upgrade your network today for faster and more reliable connections!
Frequently Asked Questions
This section covers important details about Ethernet cable standards, wiring options, and specifications. Understanding these aspects will help you make informed choices for your network setup.
What are the standards for Ethernet cables?
Ethernet cables follow specific wiring standards to ensure they work well. The two main standards are T568A and T568B, which tell you how to arrange the wires inside the cable. These standards help keep connections consistent. Ethernet cables are also categorized by types like Cat5e, Cat6, and Cat7, which indicate their speed and performance capabilities.
Should I use T568A or T568B?
You can use either T568A or T568B, as both are good options. T568B is more common in commercial buildings, while T568A is often used in homes. It’s important to pick one standard and stick with it throughout your network to avoid problems. If you are connecting to existing cables, match the wiring standard already in use.
What is the most common Ethernet wiring standard?
The most common Ethernet wiring standard is T568B. It is widely used in businesses and data centers. T568A is also popular in homes. Both standards work together, but make sure to use the same one throughout your network for proper connections.
What are the IEEE standards for wired Ethernet?
The Institute of Electrical and Electronics Engineers (IEEE) has set standards for wired Ethernet, mainly under IEEE 802.3. This standard covers things like the types of cables, data speeds, and how networks work. Different versions of IEEE 802.3 have been created to support faster speeds, like Gigabit Ethernet and 10 Gigabit Ethernet.
How many wires does a CAT6 Ethernet cable have?
A CAT6 Ethernet cable has eight wires, arranged in four twisted pairs. Each pair is color-coded to help with wiring. These eight wires are used to send and receive data, allowing the cable to support fast internet connections and heavy use. The twisted pairs help reduce interference and improve signal quality.